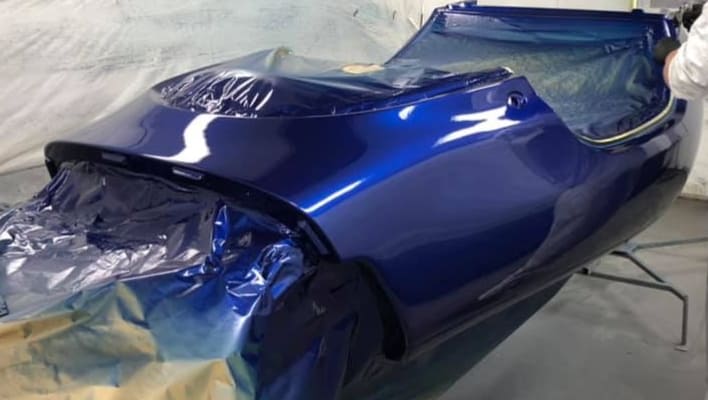
When we are about to paint our cars or other metal objects, one question that often comes to our mind “can you sand metal?” Well, the answer is YES!
Sanding is important in preparing metal surfaces as it works to create a textured surface that enhances paint adhesion. When working with painted metal, it’s good to sand it to eliminate any existing paint and obtain a flawless paint coatings.
Without proper sanding, painted metal is more likely to experience issues like flaking or peeling.
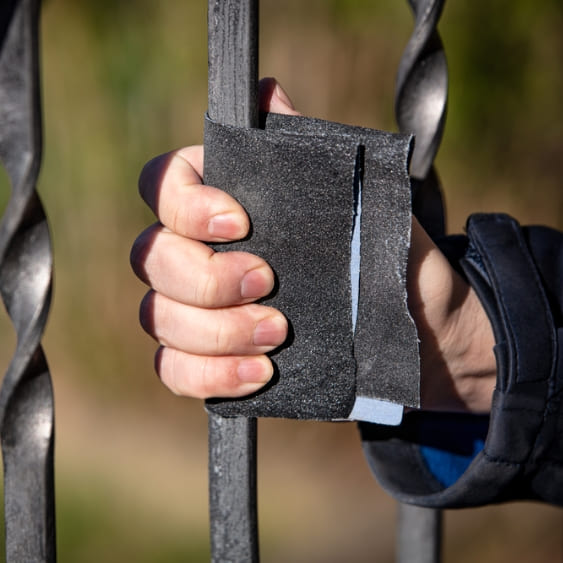
Table of Contents
- Can You Sand Metal? What Are The Different Methods To Sand Metal?
- How To Sand Metal By Hand?
- What grit should I use to sand metal?
- What is the best metal sanding tool?
- Angle Grinder – Best for Powerful Metal Sanding
- Belt Grinder and Sander – Best for Heavy-Duty Metal Sanding Jobs
- Random Orbital Sander – Best for All Types Of Metal Surfaces
- How to Sand Metal (Aluminium)?
- Factors to Consider When Sanding Metal:
- Choose the Right Sandpaper:
- Know the Grit Numbers:
- Surface Preparation:
- Dry or Wet Sanding:
- Pressure Control:
- Progression:
- Dust Management:
- How to Sand Metal Without Sandpaper?
- How to Sand Metal with a Drill?
- Do You Use Water When Sanding Metal?
- Is It Better to Sand Metal Wet or Dry?
- How to Sand Metal Edges?
- Final Thoughts
- Jennifer Marie
Can You Sand Metal? What Are The Different Methods To Sand Metal?
You can sand metal using different methods, and the choice of method relies on the specific painting project and the type of metal you’re working with. I am going to share some common methods to sand metal which I have personally applied in my DIY metal painting projects.
How To Sand Metal By Hand?
1. Using Sandpapers (Coarse sanding) – Best for Detail Work
Hand sanding with sandpaper and sanding blocks is a traditional method that remains effective for smaller areas and detailed work. You can use this method for final touch-ups and fine-tuning. I often begin with a coarse grit, typically 80 or 120, for the initial sanding, perfect for eliminating old paint, rust, or any imperfections from the metal surface.
To maintain precision, folding the sandpaper and using short, controlled strokes is effective in preparing the metal surface before you refinish or paint metal objects. If you need to eliminate scratches and dents, you can use a medium grit sandpaper, such as 220 to prepare the surface for a more refined look. Sanding block could also provide better control and even pressure distribution during the process, preventing uneven wear on the sandpaper.
2. Fine Sanding – Best for a Polished Finish
Following the initial coarse sanding, switching to a finer grit, usually around 220 to 400, is best to get a polished metal surface.
Fine sanding is ideal for leveling out imperfections before painting or applying finishes. It’s particularly useful when you’re need a professional paint job on automotive parts or furniture.
Additionally, fine sanding helps to create a uniform texture and cleans any remaining blemishes left by the coarse sandpaper. This attention to detail ensures that your painted or finished cars or metal surfaces will have a premium, showroom-quality appearance.
3. Wet Sanding – Best for a Professional Shine
Wet sanding involves using water in conjunction with a fine-grit sandpaper, typically in the range of 400 to 1000. Wet sanding is my preferred method when I want to achieve a mirror-like gloss on metal objects.
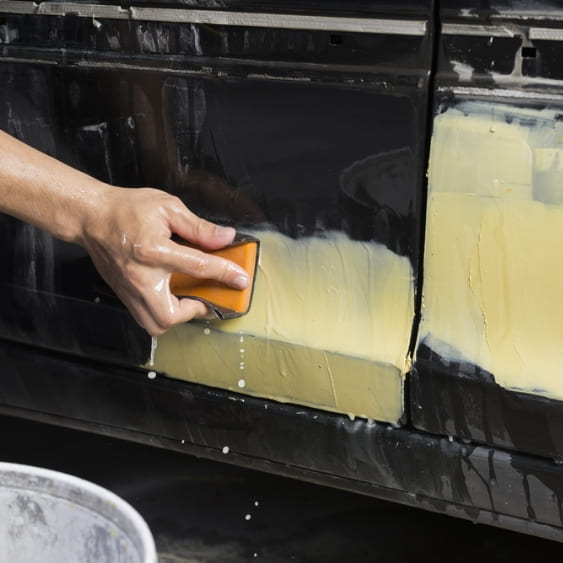
It’s commonly used in automotive detailing to eliminate imperfections. Maintaining a wet surface during wet sanding prevents overheating and clogging of the sandpaper, providing a gentle texture. In wet sanding, the water works as a lubricant, allowing the abrasive particles to move more gently over the surface, reducing the risk of scratches.
4. Sanding Sponge – Best for Curved Surfaces
For contoured or curved metal surfaces, I find sanding sponges exceptionally useful in projects involving the restoration of metal furniture or other irregularly shaped objects.
The flexibility of sanding sponges allows them to conform to the shape of the metal, providing consistent pressure and even sanding for edges and corners.
Additionally, sanding sponges come in various sanding grits, making it easy to choose the right level of abrasiveness for the specific metal restoration task at hand.
What grit should I use to sand metal?
| Grit Type Sandpaper For Metal | Best Applications | Characteristics |
| Coarse Grit (60-80) | Easily worked alloys | Quick material removal, but leaves noticeable scratches on soft metals like brass, aluminum, and zinc. |
| Medium Grit (120-180) | General contouring | Suitable for fast material removal, often used as a transitional stage before fine sanding. |
| Fine Grit (220-400) | Polished finish | Ideal for achieving a polished finish, generates less heat, and removes small imperfections left by coarser grits. |
| Ultrafine Grit (600-1000) | Final polishing | Used on finished products for additional polishing, but requires more time and pressure compared to other grits. |
What is the best metal sanding tool?
Though there are different best sanding tools for metal surfaces, I am sharing those which I have found to be the most effective in my experience.
Angle Grinder – Best for Powerful Metal Sanding
Angle grinders, equipped with abrasive discs, are powerful metal sanding tools that can rapidly help get rid of old paint, weld splatter, or rust. From sanding iron pipes during valve replacement to precision wood carving for furniture crafting, they are suitable for various projects.
Among the traditional ones, DEWALT angle grinder stands out for its robust construction and reliable performance.
When using an angle grinder for metal sanding, make sure to choose the right disc for the job, such as a flap disc or sanding pad. Be cautious and maintain a steady hand, as angle grinders can remove material rapidly.
Belt Grinder and Sander – Best for Heavy-Duty Metal Sanding Jobs
Belt sanders are excellent for heavy-duty metal sanding tasks, like stripping thick layers of paint or smoothing out rough metal surfaces.
It helps shape and finish metal pieces quickly and accurately. But it’s not just for metal, you can also use it on materials like wood, steel, stone, and even plastic.
These belt sanders are excellent for larger, flat metal surfaces. However, it might not be as detailed as other tools for intricate work.
These tools like Skil 18-InchBelt Sander use continuous abrasive belts that move in one direction. These sanders can be a bit aggressive, so practice on scrap metal before you begin sanding on your main project for getting a feel for the tool.
Random Orbital Sander – Best for All Types Of Metal Surfaces
Random orbital sanders combine orbital and rotational motions to provide a consistent sanding process. They are suitable for both rough and finish sanding of metal surfaces. Random orbital sanders are user-friendly and can help you achieve a consistent results. They don’t leave swirl marks like some other sanders and is suitable for removing varnish.
One popular option is BOSCH random orbital palm sander that I found effective due to its exceptional balance and minimal vibration, allowing for comfortable and controlled metal sanding. It also comes with a dust collection system that ensures a cleaner work environment during sanding projects.
Compared to the sheet sanders, the random orbital sander is a handy tool for refining the surface of wood or metal and scrubbing paint. On the contrary, sheet sanders, though a bit less powerful, excel at fine-tuning corners and edges while you’re working on a surface’s painting touches.
How to Sand Metal (Aluminium)?
- Clean the Surface: Start by cleaning the metal surface. Remove any grease with mineral spirits and wipe away dust. Use a mild detergent solution for stubborn grime.
- Remove Old Paint: Get rid of old, deteriorated paint using wire brushes, sandpaper, or scraping. Be cautious with power tools as they can polish the metal.
- Deal with Rust: If you find rust, brush away loose rust, sand the area, and apply a rust-inhibitive primer.
- Repair Dents and Holes: Sand the affected area, clean it with mineral spirits, and use epoxy-based composite for small dents. For larger holes, fill with epoxy filler and reinforce with fiberglass mesh.
- Surface Preparation: Choose the right primer based on metal type, desired appearance, and environmental conditions. Avoid water-based primers for metal surfaces. Learn more about the detail process of how to sand furniture.
Factors to Consider When Sanding Metal:
Choose the Right Sandpaper:
Select sandpaper appropriate for metal surfaces. The best materials are aluminum oxide, zirconia alumina or silicon carbide. Zirconia alumina is durable and maintains sharp edges.
Know the Grit Numbers:
Grit numbers indicate the coarseness of sandpaper. Lower grits (36-100) remove material quickly, while higher grits (180-320) yield a smoother finish. For polished results, use finer grits (2000+).
Surface Preparation:
Start with a clean metal surface. You can use wire brush can be used to remove rust and dirt before sanding.
Dry or Wet Sanding:
Choose between garnet paper and wet-or-dry sandpaper based on your project. Garnet paper offers various grades, while wet-or-dry paper is suitable for finer finishes.
Pressure Control:
Avoid excessive pressure to prevent over-sanding. Let the sandpaper do the work with a light to moderate touch.
Progression:
Start with coarse grits, then progress to finer grits as you smooth the metal.
Dust Management:
Consider using a dust collector or working in a well-ventilated area to minimize dust. Clean up thoroughly afterward.
How to Sand Metal Without Sandpaper?
Sanding metal without sandpaper can be achieved using alternative abrasive tools like steel wool, wire brushes, or abrasive pads. Steel wool, for instance, can remove rust and smooth surfaces effectively. Ensure you use the appropriate grade of steel wool for your task, and always follow safety precautions.
How to Sand Metal with a Drill?
To sand metal with a drill, attach a sanding or flap wheel attachment to the drill chuck. Choose the appropriate grit and speed settings, and gently move the drill back and forth over the metal surface. Keep a steady hand to achieve an even finish.
Do You Use Water When Sanding Metal?
Generally, water is not used when sanding metal, as it can lead to rust formation. However, for specific tasks like wet sanding automotive finishes, water or a lubricant may be used to prevent heat buildup and achieve a smoother finish.
Is It Better to Sand Metal Wet or Dry?
The decision between wet and dry sanding depends on several factors, including the type of metal you’re working with and the desired outcome of your project.Dry sanding is common for most metal applications, while wet sanding is preferred for tasks that require a finer, smoother finish, such as automotive painting.
How to Sand Metal Edges?
When sanding metal edges, you can employ a file or wrap sandpaper around a block. Apply even pressure, maintaining a consistent direction along the edge’s contour. This approach effectively eliminates burrs and sharp edges, resulting in a smoother and safer edge.
Final Thoughts
So, the answer to can you sand metal is not only YES, but also a MUST. It’s clear that metal sanding isn’t just an option; it’s a necessary step to obtain the best results in your painting projects.
Whether you sand for a polished automotive paint or restore metal furniture and cabinets, proper sanding is vital for paint adhesion, flawless surfaces, and professional-quality outcomes.

Jennifer Marie
Jennifer Marie is a general contractor with over the years of experience in home remodeling, DIY projects, and commercial painting projects. Her experience includes working with paint sprayers, painting tools, and other painting supplies. You can follow her on Facebook.

