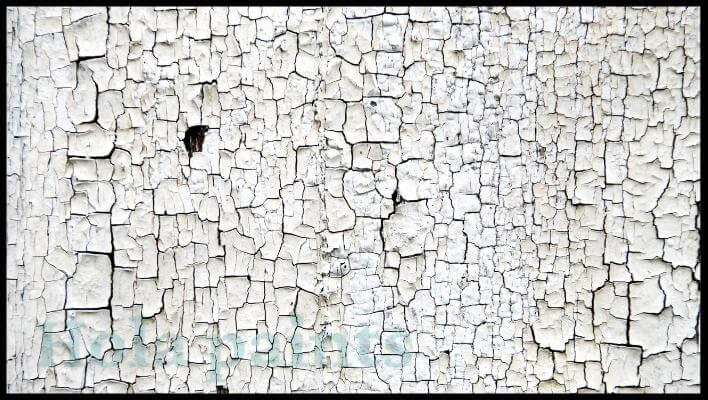
Preparing drywall for paint is important to achieve a smooth, professional finish for your walls. Learning how to prep drywall for paint isn’t very tricky.
To prepare drywall for painting, start by cleaning the surface and patching any holes with joint compound. After that, apply a coat of primer to ensure even paint adhesion, then lightly sand and clean the surface once more to achieve a smooth finish. Then, apply your chosen paint color for a flawless and long-lasting result.
From addressing imperfections to priming the surface in detail, by the end of this article, you’ll learn everything to make your walls the perfect canvas for your desired paint color. So stay with us till the end.
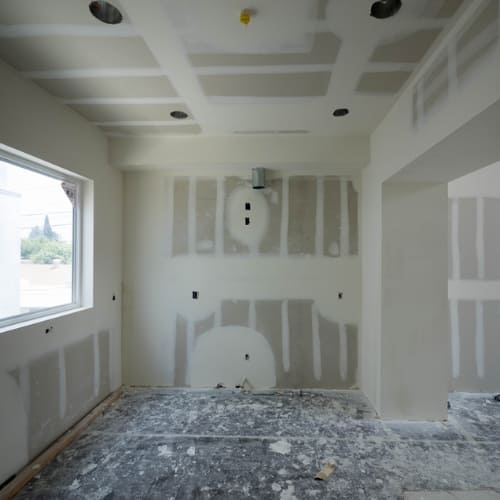
Table of Contents
- How To Prep Drywall For Paint?
- Step 1: Prepare the Workspace and Clean the Surface
- Step 2: Patch Holes and Imperfections
- Step 3: Sand the Patched Areas
- Step 4: Prime the Surface
- Step 5: Sand the Primed Surface
- Step 6: Apply Paint
- Step 7: Apply Additional Coats
- Step 8: Clean Up
- How to clean drywall dust before painting?
- What kind of paint is best for drywall?
- Is it best to prime drywall before you paint it?
- Can I paint drywall without primer?
- How many coats of primer on new drywall?
- How many coats of paint do I need on drywall?
- Can I paint drywall without plastering?
- Do you have to apply mud to the entire drywall before painting?
- Final Thoughts On Prep & Paint Drywall
- Martina Hitchcock
How To Prep Drywall For Paint?
Here’s the step by step guide to preparing your drywall for paint.
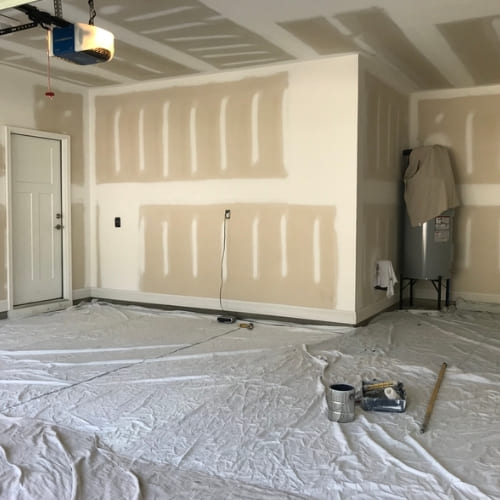
Step 1: Prepare the Workspace and Clean the Surface
Start by clearing the room of furniture and protecting the floor with drop cloths or plastic sheeting. Next, wear safety goggles and a dust mask to get yourself protected. Clean the drywall surface using a tack rag and get rid of dirt and dust. This sets the stage for further preparation.
Step 2: Patch Holes and Imperfections
Check out the drywall for any kind of imperfections, cracks, dings, or holes. Use a drywall taping knife or putty knife to apply joint compound (mud) to these areas. Leave the compound to dry thoroughly, usually overnight. For larger imperfections, you may need to apply multiple layers, leaving every layer dry before you add the next.
Step 3: Sand the Patched Areas
Once the joint compound is dry, using 120-grit sandpaper, sand the patched surfaces until they are flush and smooth with the surrounding wall. You are supposed to sand smoothly and create low spots. Feather the edges of the patches to blend them into the wall.
Step 4: Prime the Surface
For priming the drywall for painting, I found Rust-Oleum Zinsser to be the best drywall primer. Its fast-drying, water-based formula seals new drywall in just one hour, ensuring a smooth, nap-free surface.
Made in the USA, it’s reliable and easy to sand, creating the perfect foundation for a flawless paint finish. This primer simplifies your project, guaranteeing professional-quality results.
Begin the primer application to the entire drywall surface. For corners and edges, use any brush while for larger areas, go for a paint roller. Helping to seal the surface, primer gives a smooth foundation for the paint.
Tony Adams, a home improvement expert, suggests that for porous surfaces like wood or drywall, it’s advisable to apply two coats of primer (source). This helps in effectively sealing the surface and prevents uneven paint absorption due to their tendency to absorb liquids. Allow the primer to dry for about 1-2 hours.
Step 5: Sand the Primed Surface
After the primer got dried, gently sand the whole primed surface with the best drywall sander WEN 6369. The reason why I choose this sander for drywall preparation for painting is that it offers versatile speed control (600-1500 RPM), making it adaptable to different surfaces. The convenient hook-and-loop base pad simplifies sandpaper changes.
Moreover, its powerful 5-Amp motor and automatic dust removal system, coupled with a 15-foot hose, minimize cleanup hassles. Also, it includes a variety of grits (from 60 to 240), ensuring I have the right abrasiveness for a flawless finish.
To eliminate sanding dust, take a rough piece of cloth or a tack rag and wipe down. This step is vital to obtain a flawless finish.
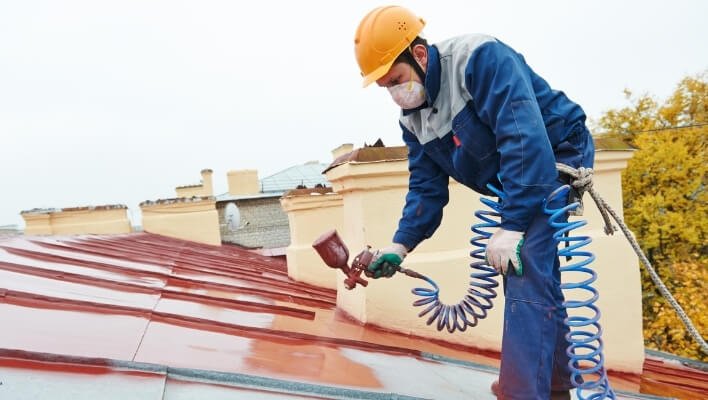
Step 6: Apply Paint
Drywall is typically painted acrylic and latex paints due to their excellent adhesion properties, allowing them to bond effectively with drywall surfaces. Additionally, acrylic and latex paints are known for their quick drying times, which make the painting process easier.
For my project, I opted for Krylon COLORmaxx Acrylic Latex paint due to its excellent adhesion, indoor/outdoor versatility, and the elegant satin white color. Its quick drying time and easy cleanup add convenience, while Krylon’s trusted reputation ensures a quality finish.
Stir the paint thoroughly before using it. Use a paintbrush for cutting in along edges and corners and a roller for larger wall areas. Apply the paint evenly and with smooth strokes.
Useful Resource: Do you know how to smooth out texture wall?
Step 7: Apply Additional Coats
As per the paint type and the color you’re using, you might need multiple coats applied. Leave every coat to get dried thoroughly before you apply the next.
Once the final coat of paint gets fully dry, carefully remove any painter’s tape from trim, baseboards, or adjacent surfaces. This must be done when the paint is still slightly tacky to prevent peeling.
Step 8: Clean Up
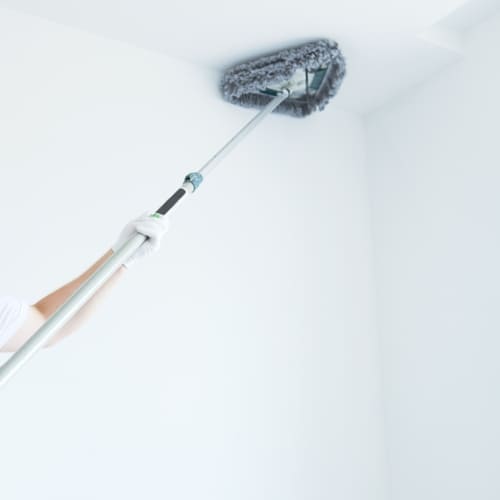
Dispose of any used items properly and clean your brushes and rollers as per the instructions given by the paint manufacturer. In this project , I also used triangle drywall cleaning tool as shown in the picture below;
With these steps, you’ll have properly prepped drywall ready for paint. The key is patience and attention to detail, as a well-prepared surface will result in a beautiful and long-lasting paint job.
How to clean drywall dust before painting?
- Allow the drywall compound to fully dry and sand it smooth.
- Use a broom or vacuum with a HEPA filter to remove loose dust and debris.
- Wipe down the walls with a damp cloth or sponge to capture remaining dust.
- Rinse the cloth or sponge frequently to prevent spreading dust.
- Allow the walls to dry completely before priming and painting.
What kind of paint is best for drywall?
| Paint Type: | Key Features and Benefits: | Ideal Use: |
|---|---|---|
| Latex Paint | – Water-based, easy cleanup | – General interior walls |
| – Low odor and fast drying | – Living rooms and bedrooms | |
| – Excellent color retention and durability | – Low to moderate traffic areas | |
| Acrylic Paint | – Water-based with added durability | – High-traffic areas |
| – Resistant to scuffs and stains | – Hallways and entryways | |
| – Good moisture resistance | – Bathrooms and kitchens | |
| Semi-Gloss Paint | – Durable and washable | – Kitchen and bathroom walls |
| – Resistant to moisture and stains | – Trim and molding | |
| – Provides a subtle sheen | – High-traffic areas | |
| Eggshell Paint | – Low sheen for a smooth finish | – Bedrooms and living rooms |
| – Hides minor imperfections | – Dining rooms | |
| – Easy to clean and touch up | – Home offices | |
| Flat Paint | – Non-reflective, hides imperfections | – Ceilings and low-traffic areas |
| – Minimal sheen, elegant appearance | – Formal dining rooms | |
| – Not ideal for high-traffic or moisture-prone areas | – Closets and storage rooms |
Is it best to prime drywall before you paint it?
Yes, you must prime drywall before painting to ensure the paint adheres well and remains unaffected by room or environmental temperature changes. In addition, priming prevents paint from soaking into the drywall unevenly, and results in a more professional and long-lasting outcome.
Can I paint drywall without primer?
While it’s possible to paint drywall without using a separate primer, it’s generally not recommended. Primer serves several important purposes, including sealing the surface, promoting adhesion, and improving paint coverage. Using a primer can result in a smoother finish and better paint durability, especially if you’re dealing with porous or uneven drywall surfaces.
How many coats of primer on new drywall?
You should apply two coats of primer on new drywall. The first coat helps seal the porous surface of the drywall, ensuring even paint absorption and preventing blotchiness. After the first coat dries, a second coat provides additional coverage and a smoother base for your final paint application. This two-coat process helps achieve a professional finish and enhances the longevity of your paint job while concealing imperfections in the drywall surface.
How many coats of paint do I need on drywall?
For drywall, it’s generally advisable to apply two coats of paint. The first coat, often called the primer coat, helps seal the surface, promotes paint adhesion, and provides a uniform base. After the primer coat dries, a second coat of paint is applied for better coverage and a smoother finish. However, in some cases or with specific paint types, an additional coat may be required to achieve the desired appearance and durability, especially when dealing with bold or dark colors.
Can I paint drywall without plastering?
In most cases, it’s not recommended to paint drywall without first applying a layer of joint compound (plaster) to fill in seams, gaps, and imperfections. Properly finishing drywall with joint compound and sanding creates a smooth surface that allows paint to adhere evenly and provides a professional finish. Skipping this step may result in visible seams and an unattractive final appearance
Do you have to apply mud to the entire drywall before painting?
No, it’s not recommended to apply mud to the entire drywall before painting. Taping and mudding drywall joints is standard practice before painting. Skipping this important step can result in unsightly walls and may even violate building codes. Therefore, mudding the drywall before the initial paint coat is indeed an essential requirement.
Final Thoughts On Prep & Paint Drywall
Proper preparation is better to achieve a consistent paint finish on your drywall. From cleaning and patching to priming and painting, each step plays a vital role in ensuring the longevity and quality of your paint job. By following this guide on how to prep drywall for paint and investing in the right tools and materials, you can effectively ready your drywall for painting, resulting in walls that look professionally crafted and truly enhance your living space.

Martina Hitchcock
Martina Hitchcock is a versatile author with expertise in different fields. As a paint sprayer expert, she has in-depth knowledge of paint spraying techniques, tools, and equipment. Martina is also an experienced home remodeler who has worked on various projects, including kitchen and bathroom renovations, flooring installations, and room additions. Her knowledge of home improvement and remodeling is extensive, and she enjoys sharing her insights and tips with readers. You can follow her on Facebook.