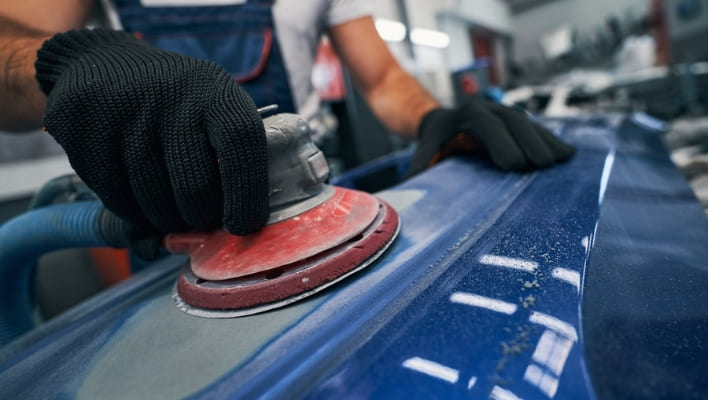
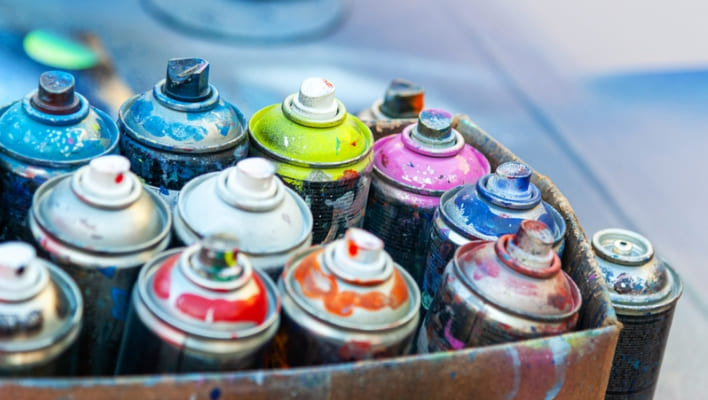
Plasti Dip, a versatile rubberized coating initially designed for tool handles, has found widespread use as an affordable method for customizing vehicle colors. This spray-on application, drying as a flexible solid, has become a popular alternative to traditional paint and vinyl wraps. Whether changing the entire car color or enhancing specific features like rims and trim, Plasti Dip offers a quick and reversible transformation.
Removing Plasti Dip is a straightforward process, allowing for easy color changes or restoration to the original look. Whether peeling off in sheets or using solutions like WD-40 and paint thinner for thinner layers, the flexibility of Plasti Dip makes it a practical choice for those seeking temporary customization without the permanence of traditional paint jobs. So, here I am to guide you the complete process on how to remove plasti dip from car.
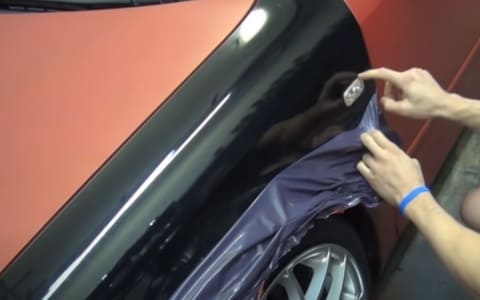
Table of Contents
- how to remove plasti dip without damaging paint-Quick Note
- how to remove plasti dip from Car?
- Step 1: Gather Your Materials
- Step 2: Preparing the Work Area
- Step 3: Peeling Off Thick Layers
- Step 4: Removing Thin Layers
- Step 5: Scrubbing with Paint Thinner
- Step 6: Final Wash and Inspection
- How to remove plasti dip that won’t peel?
- Method 1: Rubbing Alcohol or Acetone: (Best One to Try)
- Method 1: What liquid removes Plasti Dip?
- Method 2- Easiest way to remove old Plasti Dip with wd-40
- Method 3: Removing plasti dip with a heat gun
- Method 3: Pressure Washer
- Method 3: Mechanical Abrasion:
- FAQS
- What is the best chemical to remove Plasti Dip?
- Can you wash off Plasti Dip?
- What Are The Common Problems With Plasti Dip?
- Why is the Plasti Dip sagging or dripping?
- Conclusion:
- Rosalie Sanchez
how to remove plasti dip without damaging paint-Quick Note
Let’s say you sprayed Plasti Dip with the sprayer on your car a year ago, and now you want to change its color. Removing Plasti Dip from a car is a simple process that you can do using common household items. Whether you use a Plasti Dip remover or peel it off layer by layer (you can peel off the Plasti Dip if it was applied in a thick layer), these methods offer a simple way to revert the car’s surface to its original state.
Alternatively, if the Plasti Dip was applied thinly and peeling proves challenging, a dip dissolver can be employed by following the provided instructions, ensuring a swift and effective removal process.
how to remove plasti dip from Car?
Applying Plasti Dip is a relatively simple process, removing it requires careful steps to avoid damage to your car’s surface. Here’s how you can remove Plasti Dip step by step:
Step 1: Gather Your Materials
Before starting the removal process, ensure you have the necessary materials:
- Microfiber towels
- Car wash soap
- Pressure washer or hose
- WD-40 or a dedicated dip remover
- Plastic razor blades or dip dissolver spray
- Paint thinner
- Soft-bristle brush or sponge
Step 2: Preparing the Work Area
Begin by placing your car in a well-ventilated space to make the removal process easier. Ensure the surface of the car is cool to the touch to prevent any issues during the removal.
Step 3: Peeling Off Thick Layers
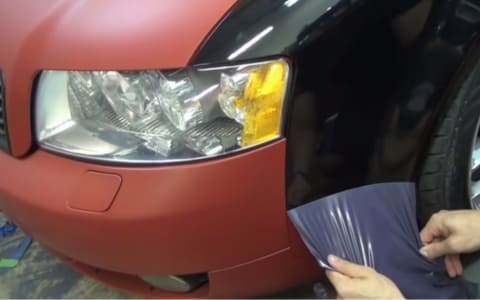
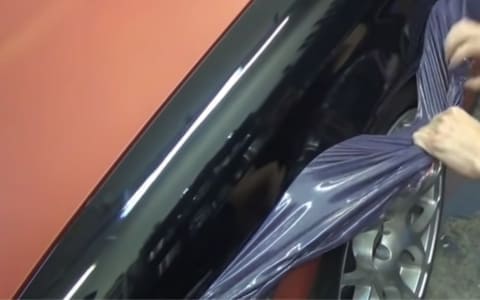
If the Plasti Dip is applied in thick layers, begin by peeling it off. Locate an edge or corner of the dip and gently lift it. Pull the dip away in a slow and consistent motion, ensuring it comes off in large, manageable sheets.
Step 4: Removing Thin Layers
For thinner layers that cannot be peeled off, use WD-40 or a dedicated dip remover. Apply the solution generously to the dipped areas and let it sit for a few minutes. The dip should start to loosen, allowing you to peel it off or wipe it away with a microfiber towel.
Step 5: Scrubbing with Paint Thinner
If residue remains after peeling or using a dip remover, apply paint thinner to the affected areas. Use a soft-bristle brush or sponge to effectively scrub away any persistent Plasti Dip. Ensure you follow safety precautions when using paint thinner and work in a well-ventilated space.
Step 6: Final Wash and Inspection
After successfully removing the Plasti Dip, give your car a thorough wash using car wash soap and a pressure washer or hose. Inspect the entire surface to ensure all residues are gone, leaving your car looking clean and restored.
Useful Resource: If you don’t know how long will plasti dip lasts then you can check out the article for the detail answer.
How to remove plasti dip that won’t peel?
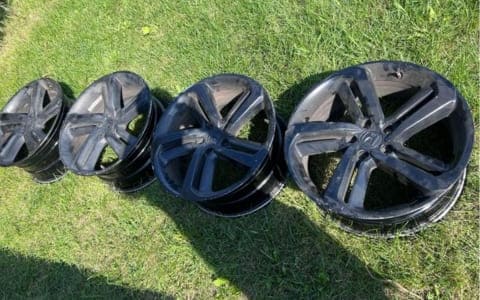
If you’re having trouble getting Plasti Dip to peel off easily, no worries—here are some tricks you can try:
Method 1: Rubbing Alcohol or Acetone: (Best One to Try)
- Grab a cloth or sponge, soak it in rubbing alcohol or acetone.
- Lay it on the Plasti Dip for a few minutes.
- Afterward, gently rub or scrape it off with a plastic scraper.
Method 1: What liquid removes Plasti Dip?
Yes, you guess right, Plasti dip Dissolver.
- If Plasti Dip won’t peel off, use a reputable dip dissolver like the one from DipYourCar.
- For wheels, remove them and for body panels, protect trims with tape and plastic.
- Ensure the car is dry before starting.
- Apply a generous coat of Dip Dissolver to the Plasti Dip.
- Allow the dissolver to work until the Plasti Dip can be easily wiped away with a finger.
- Some may start to drip off; use a pressure washer to clear away the dissolved Plasti Dip.
- Repeat steps 4-6 until all Plasti Dip is removed.
- Finish by washing and waxing your car.
You can also use Goo Gone for plasti dip removal, but I usually go with Plasti dip Dissolver.
Method 2- Easiest way to remove old Plasti Dip with wd-40

- Spray WD-40 generously on the Plasti Dip, making sure it’s well-covered.
- Gently rub the best plasti dip remover that is WD-40 into the Plasti Dip using a cloth, moving in circles.
- Wait 5 minutes, then wipe off the loosened Plasti Dip with the cloth.
- If some areas persist, use a plastic razor to delicately scrape off the Plasti Dip.
- Keep an eye out for bubbles, a sign that the Plasti Dip is coming off.
- Utilize a pressure washer to strip off the loosened Plasti Dip.
- If needed, manually pull off any remaining bits of Plasti Dip.
- Wash the entire car with soap and water to remove WD-40 and any leftovers.
- You can use this method to remove plasti dip from chrome, tires or even on motorcycles.
Method 3: Removing plasti dip with a heat gun
- You should have a heat gun, painter’s tape, drop cloth, rubbing alcohol, and gloves.
- Next, choose a well-ventilated area for the job.
- Safeguard surrounding surfaces with a drop cloth and use painter’s tape to secure adjacent areas.
- Apply heat to the Plasti Dip until it becomes soft and forms bubbles.
- Carefully peel off the softened Plasti Dip using your fingers or a soft cloth.
- Clear any remaining residue using rubbing alcohol and clean the surface with soap and water.
- Thoroughly inspect for any lingering Plasti Dip, repeating the process if necessary.
- Dispose of materials responsibly, following local regulations.
Method 3: Pressure Washer
- I never tried this method but it sound good, right! So, it is also very easy method to try.
- If you’ve got a pressure washer handy, set it to medium.
- Spray the Plasti Dip from a bit of a distance and move the nozzle around for good coverage.
Method 3: Mechanical Abrasion:
- If it’s being stubborn, try a bit of elbow grease with a coarse cloth or pad.
- Be careful not to harm the surface below.
FAQS
What is the best chemical to remove Plasti Dip?
Use “Dip Dissolver” for easy Plasti Dip removal, or cautiously apply acetone. Alternatively, Goo Gone can liquefy the dip for effortless power washing. Prioritize safety, follow instructions, and test in a small area before use.
Can you wash off Plasti Dip?
Certainly! Plasti Dip can be washed off by peeling it manually or using a rubber and paint remover or a solvent like Goo Gone to soften it. Always follow safety guidelines and test in a small area before applying widely.
What Are The Common Problems With Plasti Dip?
Common Plasti Dip issues include uneven coverage, peeling or lifting due to inadequate surface preparation, problems with overspray or thin application, susceptibility to dust and debris during drying, sensitivity to temperature and humidity, potential color fading with prolonged UV exposure, and concerns about durability in high-wear areas. Following proper instructions, surface preparation, and testing on a small area can help mitigate these problems.
Why is the Plasti Dip sagging or dripping?
If Plasti Dip is sagging or dripping, it may be due to removing the item too quickly during the dipping process. To address this, it’s recommended to lift the item at a rate of 1 inch every 5 seconds. Additionally, if you experience runs or sags while spraying, consider adjusting by moving the can further away from the surface and applying a lighter coat to prevent such issues. These techniques, along with careful adherence to guidelines, are important for achieving a smooth and consistent finish.
Conclusion:
In conclusion, removing Plasti Dip from your car involves a simple process. Whether peeling off large sections or using rubbing alcohol or mineral spirits for stubborn areas, the key is patience. The goal is to restore your car’s original appearance by gently scrubbing away the Plasti Dip and washing the vehicle afterward. With the right approach, you can effectively remove the coating, revealing the underlying surface without damaging your car’s finish.

Rosalie Sanchez
DIY enthusiast with years of experience in home decor and home improvement. With a passion for educating consumers about DIY projects. Every time, I work with our painting professionals to provide you with the best painting product reviews and how-to advice. You can follow me on Facebook.

