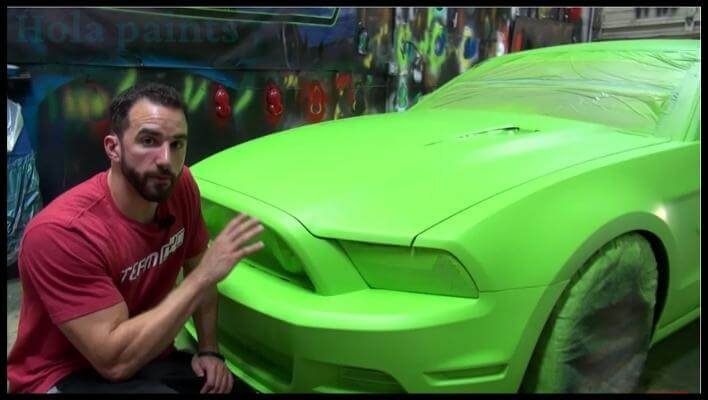
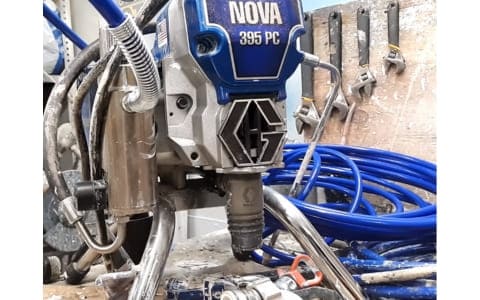
Facing unexpected issues with your paint sprayer can be incredibly frustrating, especially when you have a day of painting and finishing ahead. From blocked nozzles to uneven finishes, common paint sprayer problems can bring your project to a halt.
Whether you’re using a Graco, Wagner, Titan, or any other brand, these issues often arise due to improper setup or worn parts. In this guide, we’ll delve into some of the most prevalent paint sprayer problems and offer practical solutions, empowering you to troubleshoot and get back to your project without the need for costly repairs or lengthy delays.
Table of Contents
- Most common spray gun problem
- 1. My sprayer won’t pump material
- 2: My paint sprayer tip clogged
- 3. Inconsistent pressure
- 4. Issues with Priming the Unit
- 5. My experience with Paint Drips
- 6. Pump Problems
- 7. Inconsistent Spray Pattern From my Paint sprayer:
- 8. Paint Compatibility
- 9. Orange Peel Effect in My Paint Job
- 10. My Paint sprayer blowing only air
- 11: Dealing with Fluid Leaks
- Conclusion:
- Rosalie Sanchez
Most common spray gun problem
1. My sprayer won’t pump material
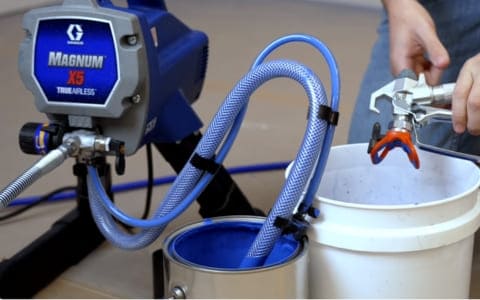
If your sprayer is not pumping material, it could be due to various reasons such as a lower intake valve being plugged, a prime/spray valve being blocked, the suction system drawing air, a plugged inlet screen, a clogged manifold or gun filter, or an airlock in the outlet valve.
Incase, if your sprayer is operational but doesn’t build enough pressure to pump the material, inspect the valve for dirt or damage as I did with my wagner sprayer. The inlet valve plays a crucial role in ensuring proper material flow. Additionally, blockages in the spray gun, especially at the air cap and liquid outlet, may occur due to debris from the spray liquid, leading to patchy or blocked spraying.
Possible Solution:
- Regular cleaning helps prevent these issues.
- Remove and clean out the intake valve.
- Open and close the valve while flushing the unit.
- Tighten all fittings.
- Clean or replace the screen.
- Clean or replace the filter.
- If the problem persists, take the sprayer in for service.
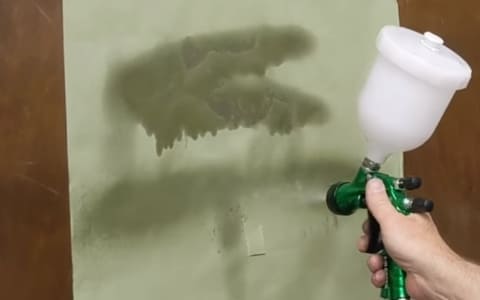
2: My paint sprayer tip clogged
I have noticed that the clogging of the nozzle in paint sprayers is a common issue that can affect the spray pattern and overall performance. The problem arises when paint or adhesives dry within the nozzle, hindering the smooth flow of the liquid. This is particularly prevalent when using thick or viscous paints.
Excessively thick paint can lead to nozzle clogging, causing the filter material to impede paint flow and resulting in frequent clogs.
The choice of your spray gun tip size is crucial for effective results. If the tip is too large, it can cause uneven spray patterns with heavy “tails” on either end, contributing to clogging problems.
Using oil-based primer and water-based top coat paints without proper cleaning in between can lead to clogs. The solvents in the oil-based paint can negatively interact with the water-based paint.
Potential Solution:
To address these issues and prevent nozzle clogging:
- Choose high-quality paint designed for sprayers. Ensure compatibility between different paint types by thoroughly cleaning the pump and components when switching from one type to another.
- Follow the manufacturer’s instructions for thinning the paint. Adjust the viscosity to an appropriate level for smooth flow through the nozzle.
- Regularly clean all sprayer parts—nozzle, filters, and hoses—after each use. Use suitable cleaning solvents to dissolve stubborn paint residues and ensure optimal performance.
- Adjust the fluid pressure to a higher level, such as 3000 psi, when working with thick paints. Choose a nozzle tip in the range of .0015 to .0017 inches for proper atomization of the paint.
3. Inconsistent pressure
Inconsistent pressure in a paint sprayer can result from various issues, including a worn or oversized tip, clogged filters or screens, a plugged intake valve, worn intake ball and/or seat, paint accumulation around the throat seal area, using material too heavy for the sprayer, inadequate power supply, unsuitability of the sprayer for the material, worn packings/rod/cylinder, a loose suction assembly, or a combination of these factors.
Potential solutions:
- Replace the tip with the correct size for your sprayer.
- Clean or replace filters/screens to ensure proper fluid flow.
- Clean the intake valve to prevent clogs or replace if necessary.
- Confirm that the material used aligns with the recommended specifications for the sprayer.
- Use stable power supply and ensure that the sprayer is appropriate for the particular material being sprayed.
- Seek service to replace worn components.
4. Issues with Priming the Unit
Unit Won’t Prime is a common issue encountered with paint sprayers or similar units, where the equipment faces difficulty in drawing and circulating paint or coating material. Priming is the essential step of filling the pump and hoses with paint to ensure a smooth and consistent spray.
Common causes and corresponding solutions for this problem include:
Piston packings and ball valves sticking due to drying, a plugged pump inlet screen, or air in the pump/hose can hinder priming. Worn packings, thick paint, clogged siphon tube, or air leaks can also lead to priming issues. Additionally, you won’t believe but problems like clogged tips, low pressure, stuck valves, worn parts, or airlocks may contribute to difficulties in priming.
Potential solutions:
- Remove the siphon tube, check the ball check, and use paint thinner to clear dried-out components.
- Clean the inlet screen, purge air by running the unit with the trigger open, and check for siphon tube leaks.
- Replace the worn packings.
- Prime with a compatible solvent, immerse the inlet tube in heavy material, and trigger the gun until material appears.
- Remove and clean the clogged siphon tube.
- Check connections and seals for air leaks.
- Solutions include cleaning, adjusting pressure, replacing worn parts, and addressing specific mechanical issues.
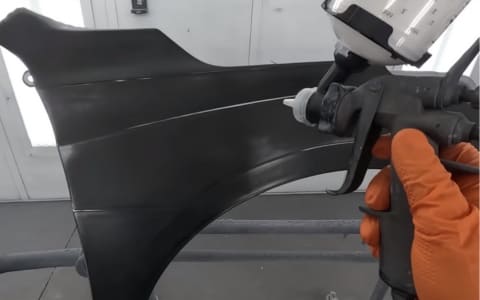
5. My experience with Paint Drips
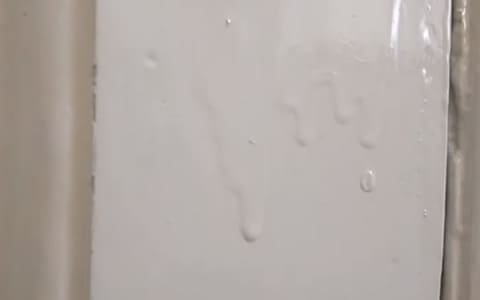
Drips during the painting process can result in uneven or undesirable surfaces. One common cause is excessive paint buildup or improper technique, particularly when using airless paint sprayers like Graco. Drips may also occur while spraying, often caused by a worn spray tip.
Solutions:
To address this issue, it is essential to follow proper painting practices:
I’ve found that maintaining a consistent spraying speed and distance is crucial. It helps prevent that annoying buildup of excess paint that leads to drips.
Starting and finishing each stroke away from the surface has been a game-changer for me. It minimizes the chances of those pesky drips making an appearance.
Applying thin coats and giving them ample time to dry between applications is a key step. It may require a bit of patience, but the results are worth it.
I’ve learned to keep a close eye on the spray tip, making sure it’s in good condition. If it’s worn, replacing it promptly has saved me from dealing with unwanted drips.
In case drips do show up:
After the paint has dried, a gentle sanding session on the affected areas works wonders. It helps to level out any drips or runs.
Once sanded, recoating becomes necessary. It’s the final touch to ensure a smooth and flawless finish.
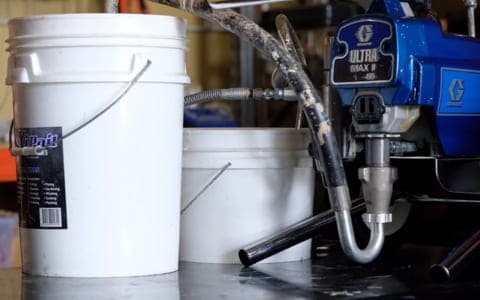
6. Pump Problems
The pump in a paint sprayer plays a crucial role in pressurizing and delivering paint for effective spraying. When encountering difficulties with the pump, potential problems may include issues with the motor, electrical connections, or pump damage.
Possible Solution:
To address pump-related problems, carefully inspect the power source and electrical connections for any signs of damage. Confirm the pressure control settings are appropriate and check if the unit is already pressurized. Ensure the electric outlet is functional, and in cases of dried paint causing pump seizure, clean the affected parts.
If the on/off switch is damaged, replace it. Consider investigating whether the unit has been frozen or if there’s damage to the control board. Adjust pressure settings, confirm readiness for spraying, try an alternative outlet, clean paint residue, replace a damaged switch, or seek professional service based on the specific identified issue.
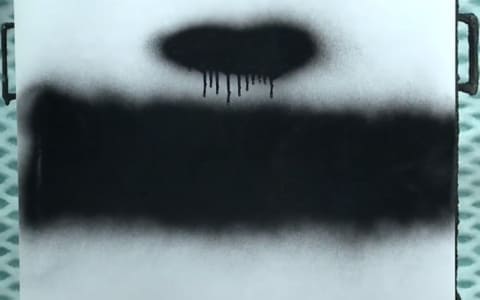
7. Inconsistent Spray Pattern From my Paint sprayer:
Uneven spray patterns, seen as visible lines or uneven coverage, are a common issue. This problem typically results from improper adjustment of spray pattern settings or a mis-calibrated sprayer.
The spray pattern may be inconsistent due to incorrect adjustment of settings or improper calibration of the sprayer.
Possible Solution:
Before you start painting, take time to read and understand the sprayer’s manual for adjusting the spray pattern. To ensure uniformity and alignment with your desired outcome, conduct a test spray on a scrap material.
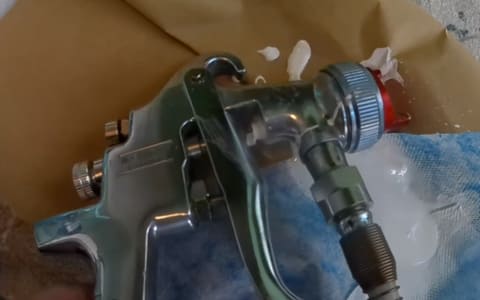
8. Paint Compatibility
Compatibility and texture problems often arise during the process of applying a new paint coat over an existing one. The conflict between the new and old paint can result in inadequate adhesion and irregular texture.
Solution:
Addressing this concern necessitates careful consideration. Prior to the full application, a small inconspicuous area should be tested, or a primer can be used. The primer functions as a bonding agent, fostering adhesion and preventing texture complications. Opting for paints within the same product line or seeking advice from a paint professional can further ensure compatibility, ultimately yielding a seamless and long-lasting finish.
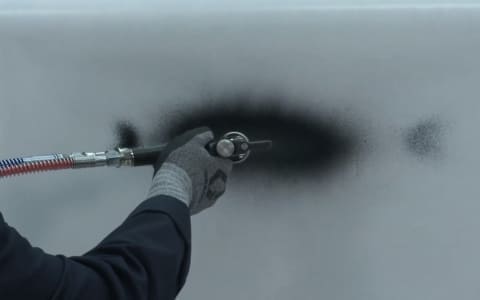
9. Orange Peel Effect in My Paint Job
The “orange peel” effect on a paint job happens when the surface looks bumpy, similar to an orange’s skin. This issue occurs when the paint doesn’t level out properly during application.
The orange peel effect can be caused by factors like using the wrong paint thickness, incorrect spray gun settings, or painting in unfavorable environmental conditions, such as high humidity or extreme temperatures.
Solution:
To fix the orange peel problem, make sure the paint thickness matches the manufacturer’s recommendations. Adjust the spray gun settings, including pressure and nozzle size, for an even application. Work in a controlled environment with moderate humidity and temperature. Also, proper surface preparation, like sanding between coats, can help achieve a smoother finish.
10. My Paint sprayer blowing only air
The most common reason for a paint sprayer blowing only air is a clogged or blocked nozzle. Over time, paint residue and debris can accumulate in the nozzle, hindering the proper flow of paint and resulting in only air being expelled.
Solution:
To resolve this issue, thoroughly clean the nozzle of your paint sprayer. I usually begin by detaching the paint sprayer from the power source and taking out the paint container. After that use an appropriate cleaning solution or solvent recommended by the manufacturer to break down any dried paint or residue within the nozzle.
Now use a small brush or a nozzle cleaning kit to remove any stubborn particles. Ensure a smooth leaning process to restore the nozzle’s passage for paint. After cleaning, reassemble your paint sprayer, and it should function properly, delivering both air and paint for an effective painting experience.
11: Dealing with Fluid Leaks
Fluid Leaking from Top of Piston
If you’re facing fluid leakage from the top of the piston, there are two potential issues to consider. Firstly, check if the packings need adjustment. If that’s not the case, inspect for wear in the packings or piston rod. Adjusting the packings should be the initial step, followed by replacing any worn parts if the problem persists.
Fluid Leaking from Top of Suction Valve Housing
When fluid is leaking from the top of the suction valve housing, the likely culprit is a damaged o-ring located on the bottom of the cylinder. To resolve this, simply replace the damaged o-ring. This straightforward solution should put an end to the leakage issue and ensure the proper functioning of your equipment.
Conclusion:
Investing time in understanding and addressing common paint sprayer problems is essential for achieving professional-looking paint finishes. By following the tips provided in this guide, you can troubleshoot issues effectively, ensuring your paint sprayer remains a reliable tool for your projects.

Rosalie Sanchez
DIY enthusiast with years of experience in home decor and home improvement. With a passion for educating consumers about DIY projects. Every time, I work with our painting professionals to provide you with the best painting product reviews and how-to advice. You can follow me on Facebook.