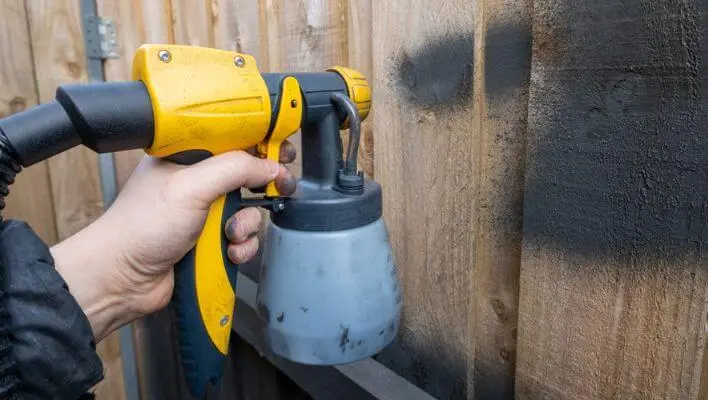
Imagine you’re making something look nice with spray paint, like a piece of furniture or a cool fun project. You’re excited, and your creativity is flowing. But, oh no! There’s a drip of paint that’s messing up your work.
I love doing these kinds of painting jobs at home, and I’ve faced this frustrating situation many times, thinking about how to fix spray paint drips.
No worries at all! I would help you solve this problem. Whether you’re experienced at DIY jobs or just starting, I’ll show you how to fix those annoying paint drips. To fix paint spray drips, we must find out what causes paint dripping. So, let’s dive in and learn the causes and solutions to make your tasks look great again without messing up anymore!
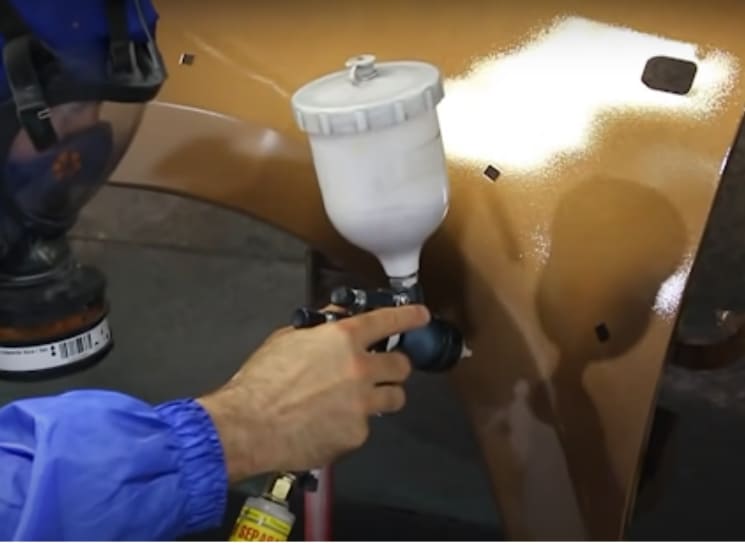
Table of Contents
- How to fix paint drips! (Quick tips)
- Why Is My Spray Paint Dripping?
- How To Fix Spray Paint Drips?
- 1. Quickly Wipe The Wet Paint Drips
- 2. Scrap The Drip Area (if dry)
- 3. Sand the Affected Area
- 4. Feather the Edges
- 5. Apply Primer (if necessary)
- 6. Repaint the Area
- How To Prevent Spray Paint Drips Or Runs On Plastic?
- How To Prevent Spray Paint Drips Or Runs On Glass?
- How To Fix Spray Paint Drips On Wood?
- How To Prevent Paint Sprayers From Dripping Paint On Metal?
- How To Fix Spray Paint Drip Mistakes? – Techniques
- how to avoid drips when spray painting? Bonus Tips
- Wrapping Up
- Rosalie Sanchez
How to fix paint drips! (Quick tips)
| Fixing Spray Paint Drips |
|---|
| For Wet Drips: |
| 1. Wipe with cloth/soft brush |
| For Dried Drips: |
| 1. Carefully scrape with razor blade/paint scraper |
| 2. Sand area smooth |
| 3. Apply primer, let dry |
| 4. Repaint, blend with surface |
Why Is My Spray Paint Dripping?
Spray paint dripping can occur for several reasons, and understanding the root cause can help you prevent it and achieve a smoother, more even finish on your painting surfaces.
One common reason for spray paint dripping is overspraying paint in one coat. When you spray too close to the surface or linger in one area for too long, the excess paint can build up and start to run or drip.
Moreover, it’s possible that the same paint may stick differently to various surfaces. For instance, if you’re spray painting on a glass or plastic material, it may not adhere as well as it would on a porous or rough surface like wood or metal.
This difference in surface texture can lead to paint drips, especially if the paint isn’t made for the specific material you’re working with.
Environmental factors can also contribute to spray paint dripping and paint bubbling. High humidity or extremely hot weather can affect the paint’s drying time and consistency.
Ideally, try to spray paint in a moderate humidity condition and temperature of 65 to 85 degrees Fahrenheit and to achieve the best results.
Helpful Resource: If you’ve encountered paint bleed issues in your DIY project, don’t worry; there are effective ways to fix it!
Another potential cause of dripping could be a clogged nozzle on the spray can. If the nozzle is partially blocked, it can disrupt the spray pattern and lead to uneven application, resulting in drips. To prevent this, regularly clean the nozzle and follow the manufacturer’s instructions for unclogging it if needed.
How To Fix Spray Paint Drips?
For all materials, whether it’s plastic, glass, wood, or metal, the key to successfully fixing spray paint drips lies in a combination of techniques and appropriate coatings. Continue reading to discover fixes for spray paint runs!
1. Quickly Wipe The Wet Paint Drips
To prevent paint drips, it’s essential to avoid them from the start. When using a brush or roller, ensure you don’t apply too much paint. If you notice excess, take a moment to wipe it off with a clean cloth, paper towel, or a lint-free rag. This will enable you to gently and lightly blot or wipe away the excess paint before beginning the application process.(Reference: HouseDigest)
You should try not to spread or smear the drip more. When you remove the paint while it is still wet, you can often remove most of it.
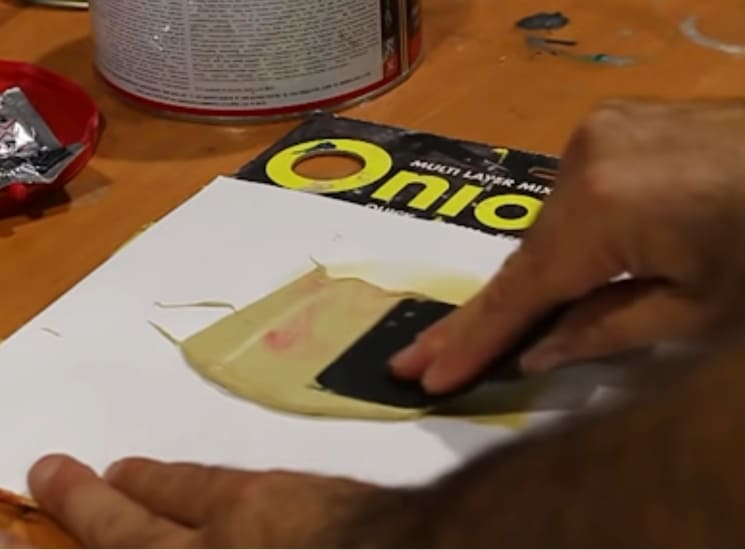
2. Scrap The Drip Area (if dry)
If the paint has already dried and you couldn’t catch it in time, you’ll need to take a slightly more aggressive approach. Use a clean, sharp utility knife or a paint scraper to carefully remove the dried drip.
Gently scrape the area in the direction of the drip, being cautious not to gouge or damage the surrounding painted surface. Go slowly and steadily to avoid making the problem worse.
3. Sand the Affected Area
Once you’ve removed the dried drip, you may notice that the surface is uneven or rough. To smoothen it out, use fine-grit sandpaper (around 220-grit or higher) and lightly sand the affected area.
Sand in the same direction as the grain or pattern of the surrounding paint to maintain uniformity.
4. Feather the Edges
To seamlessly blend the repaired area with the surrounding paint, you’ll want to feather the edges. This means lightly sanding the outer edges of the sanded area to create a smooth transition.
5. Apply Primer (if necessary)
If you’ve had to scrape a large area or the underlying surface is exposed, it’s a good idea to apply a suitable primer before repainting. The primer will ensure proper adhesion and a consistent finish.
6. Repaint the Area
Once the surface is smooth and prepped, it’s time to repaint the affected area. You are supposed to be using the same type and color of spray paint as before.
Apply even paint coats, so that each of the coats have time to dry meanwhile as per the manufacturer’s instructions. You can take multiple attempts of light coat application than one heavy coat to prevent future drips.
How To Prevent Spray Paint Drips Or Runs On Plastic?
When dealing with spray paint drips on plastic surfaces, the approach may differ slightly from fixing drips on other materials like wood or metal. This is because the plastic material has a glossy and smooth surface that may cause paint drips particularly when you are spray painting a vertical surface.
You can fix spray paint drips on plastic by scraping away the surface with a scraper. It’s advisable to use a scraper to gently remove the drip instead of resorting to sanding.
The reason behind this preference is rooted in my own experience with a plastic stool. When I attempted to sand it, the surface became abrasive and uneven, making it extremely difficult to attain a sleek edge, even after applying an additional coat of paint.
Useful Resource: Take a look at this video to learn how to remove paint from plastic.
How To Prevent Spray Paint Drips Or Runs On Glass?
Spray painting on glass can be straightforward, but the material’s smooth, glossy surface like plastic presents challenges. This slick texture can lead to paint running or dripping, especially on hot surfaces or vertical glass.
To address spray paint drips on glass, it’s best to gently scrape away the excess paint, which tends to come off easily. It’s important to avoid using sandpaper on glass surfaces, as it can cause etching or chipping, resulting in difficult-to-repair damage.
Just like with plastic, it’s advisable to proactively manage and catch drips on glass before they dry to achieve a clean coat.
How To Fix Spray Paint Drips On Wood?
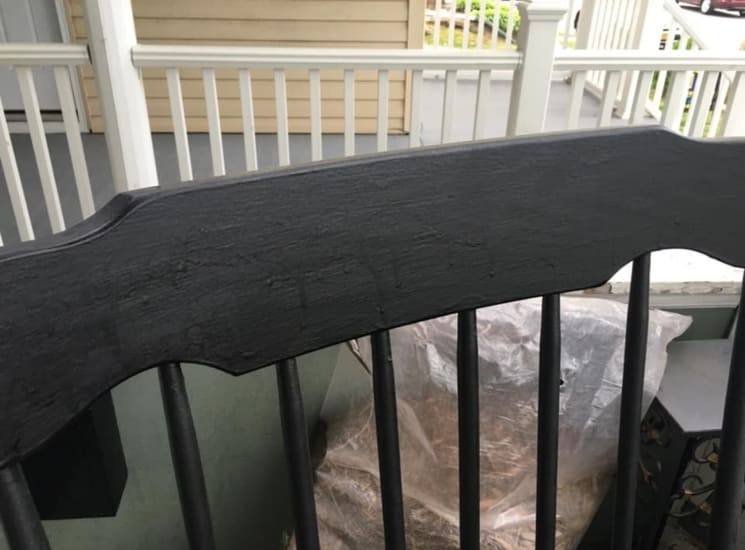
Wood serves as an excellent canvas for spray painting due to its porous nature, which can minimize the risk of runs or drips. Nevertheless, it often takes multiple coats for thorough application.
To prevent spray paint drips on wood, begin by ensuring the wood surface is properly primed before applying spray paint; the primer enhances paint stickiness and minimizes imperfections.
Afterward, identify the drip areas and start sanding them gently with a fine-grit sandpaper to achieve a polished surface without harming the wood.
Subsequently, thoroughly clean the wood surface to remove paint dust or debris for a smoother coating. Follow the manufacturer’s guidelines to apply additional coats of spray paint for drying times between each coat.
For added durability as well as protection, you may apply a clear topcoat or sealant over the painted surface, especially for outdoor wood projects, safeguarding them from the elements.
How To Prevent Paint Sprayers From Dripping Paint On Metal?
Spray paint drips on metal surfaces, such as a car, can not only be messy but also frustrating and time-wasting.
It makes it quite challenging to achieve a smooth and even texture when spray painting, and drips can occur due to various reasons, including improper technique, weather conditions, or the quality of the paint itself. So, how to fix spray paint drips on car? Check the image below:
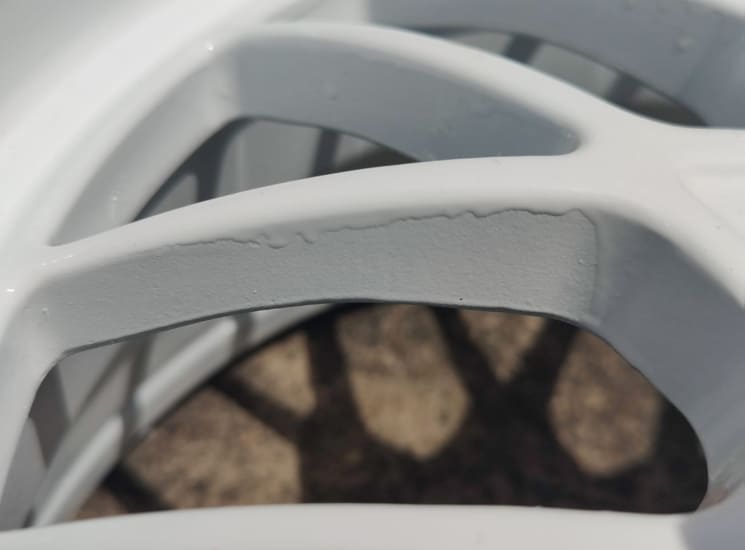
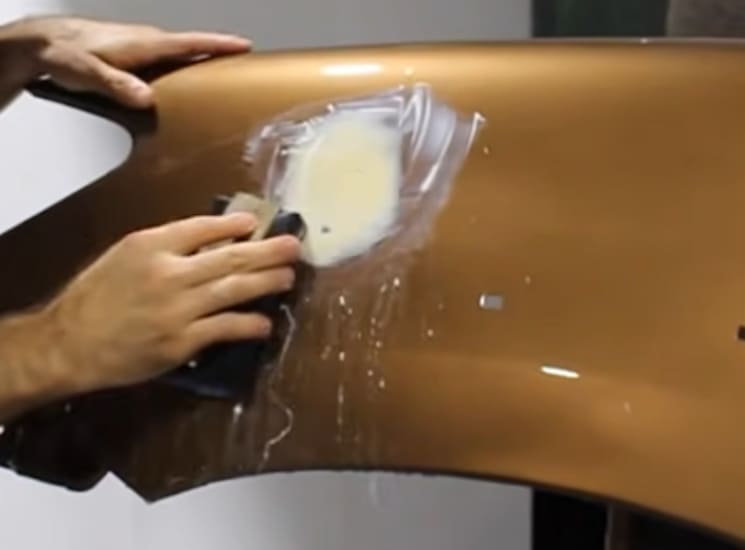
To effectively remedy spray paint drips on metal surfaces, begin by utilizing a scraper or fine-grit sandpaper to delicately eliminate the drips. Since metal is generally robust, the risk of causing harm is minimal unless you’re dealing with an exceptionally fragile material.
For the task involving exterior metal, you should apply an all-weather primer before proceeding with the final coat. This not only enhances paint adherence but also offers additional protection against weather-related wear and tear.
Moreover, having a lint-free cloth within reach during the spray painting process will enable you to promptly wipe away any drips and runs as they manifest.
Your metal surfaces will look polished and professional following these instructions.
| Material | Type of Coat Needed | Additional Info |
| Plastic | Primer coat for adhesion improvement. | Use a plastic-compatible primer. |
| Glass | Transparent topcoat for protection and aesthetics. | Choose a UV-resistant topcoat for outdoor use. |
| Wood | Clear sealant or varnish for durability. | Sand and prep the wood surface before sealing. |
| Metal | All-weather primer for outdoor applications. | Select a primer suitable for the specific metal type. |
Related Resource: Here are some tips on how to remove metal paint from the surface.
How To Fix Spray Paint Drip Mistakes? – Techniques
If you’re experiencing issues with paint drips while using a spray paint can, it’s ideal to rectify the problem at its source. Here are some quick fixes:
- Remove the nozzle cap and soak it in a suitable solvent (e.g., paint thinner or water) to remove paint buildup. Use a brush to scrub away the residue.
- Inspect the nozzle for clogs and gently clear them with a pin or needle.
- Replace a damaged nozzle or experiment with different spray patterns to reduce drips.
- Use fine-grit sandpaper to gently refine the affected areas.
- When using your paint sprayer, maintain a distance of roughly 10 to 12 inches from the surface, ensuring the application of a uniform and thin layer of paint to cover the errors.
- Use a primer or base coat for better coverage.
- Add more coats if mistakes are still visible.
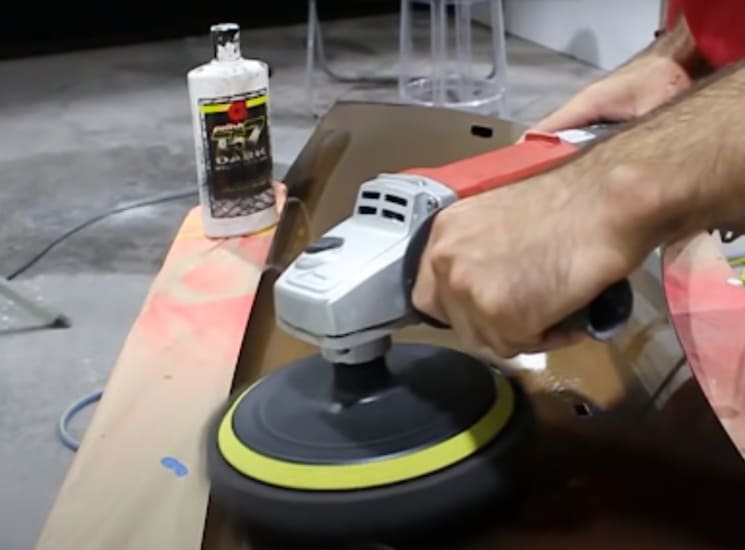
- For glossy surface treatment, buff and polish once the paint is fully cured.
- Prevent future mistakes by using the correct spray techniques.
how to avoid drips when spray painting? Bonus Tips
| Preventing Spray Paint Drips | Key Steps |
|---|---|
| Choose Quality Paint | Choose higher-quality paint to avoid thin, runny paints. |
| Maintain Proper Spray Distance | Keep the spray can 6-12 inches away from the surface to apply thin, even coats. |
| Shake the Paint Can | Ensure thorough mixing of paint and propellant by shaking the can before use. |
| Apply Correct Painting Techniques | Test the nozzle, use smooth strokes, avoid continuous spraying, and work in small sections. |
| Consider Temperature and Humidity | Follow product recommendations for temperature and humidity to ensure even drying. |
Wrapping Up
Dealing with spray paint drips can be a common challenge when engaging in DIY endeavors or home improvements. However, by having the right knowledge and techniques, you can effectively cope with these unwanted blemishes to achieve a polished paint appearance.
The process of fixing spray paint drips can be a learning experience that enhances your DIY skills. By following my expert techniques and ways of proper spraying techniques, you’ll be better equipped to tackle future painting works with confidence, so that they turn out beautifully and drip-free.

Rosalie Sanchez
DIY enthusiast with years of experience in home decor and home improvement. With a passion for educating consumers about DIY projects. Every time, I work with our painting professionals to provide you with the best painting product reviews and how-to advice. You can follow me on Facebook.