Are you faced with the challenge of reviving worn-out wood furniture and giving it a fresh, updated look? Refinishing wood furniture can be a rewarding way to restore outdated furniture. When removing old paint or varnish, two primary methods are typically used: Sanding Vs Stripping Wood Furniture.
In this article, we will compare sanding and stripping as methods for giving wood furnishings a fresh look. However, understanding the differences between sanding and stripping is important to ensure you choose the right method for your project. Whether you’re looking to restore a large, smooth surface or tackle intricate shapes, we’ll explore the pros and cons of both techniques.
Also, you can find information on when to use a paint stripper or sander to remove paint. So let’s get started!
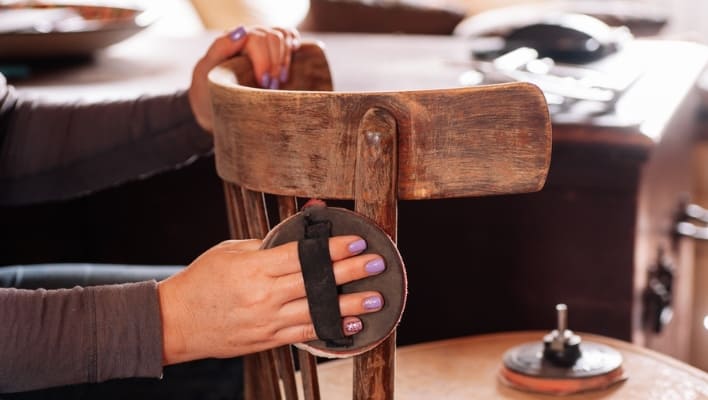
Table of Contents
- Stripping vs Sanding Furniture
- Pros Of Sanding
- Cons Of Sanding
- Sand down Method
- Supplies Needed:
- How to sand paint off wood?
- How to strip paint from wood
- Is it better to sand or strip furniture?
- FAQS On Stripping vs Sanding Furniture
- how long after stripping can i sand?
- Is it safe to sand paint?
- What happens when you sand paint?
- Is it better to sand or strip wood floor?
- Why do you strip paint instead of sanding?
- Is it better to sand or strip veneer?
- Do you have to strip wood furniture before sanding?
- Conclusion:
Stripping vs Sanding Furniture
| Sanding | Stripping | |
| Purpose | Primarily used to prepare the surface for a new coat of paint or finish. It aims to create a slightly roughened texture on the surface, ensuring better paint adherence. | Designed to completely eliminate the old finish, including multiple layers of paint or varnish. |
| Effectiveness | Highly effective in smoothing large, flat surfaces and removing imperfections like scratches or stains. | Particularly useful for intricate shapes, corners, and hard-to-reach areas where sanding may be challenging. |
| Process | Involves utilizing sandpaper or a sanding machine to systematically eliminate the old finish, working layer by layer. | Requires applying a chemical stripper or solvent to dissolve the old finish, which is then scraped or wiped off. |
| Ease of Use | Requires some physical effort and skill, especially when using sandpaper or hand sanders. | Can be messy, as multiple applications and scraping may be necessary for complete removal. |
| Health and Safety | Produces dust particles, requiring proper respiratory protection and dust containment measures. | Involves working with chemicals, so adequate ventilation and protective gear are necessary to avoid skin and respiratory irritation. |
| Suitability | Ideal for surfaces with minor imperfections, or when preparing for a new coat of paint or finish. | Recommended for heavily layered finishes, intricate details, or when a complete removal is desired. |
| Finish Quality | Provides a smooth surface that is ready for painting or applying a new finish. | May leave behind residue or require additional cleaning and sanding to achieve a smooth surface for refinishing. |
| Time & Effort | It can be faster than stripping, especially when using power sanders. | It is generally faster method but it can be time-consuming, particularly when addressing multiple layers of paint or varnish. |
| Cost | Requires sandpaper, sanding blocks, or a sanding machine, which are relatively affordable. | Requires the purchase of a paint stripper or solvent, along with associated painting tools like scrapers or brushes. |
Pros Of Sanding
- Odor-free: Unlike paint strippers that emit strong chemical fumes, sanding does not produce unpleasant odors. This makes it a more comfortable and convenient option, especially if you work in an enclosed space or have sensitivity to chemical smells.
- Time-saving: If your goal is to repaint the surface, opting for sanding can save you time.
- Ideal for repainting: If your goal is to repaint a surface rather than stripping it down to bare wood, sanding is a quicker alternative. By sanding the existing paint or finish, you can create a suitable surface for the new coat of paint. This is without removing all the previous layers.
- Chemical-free: Sanding does not require harsh chemicals. Unlike paint strippers, which often contain strong solvents or corrosive substances, sanding relies solely on mechanical abrasion. This makes it a safer and more environmentally friendly option, as you don’t need to worry about harmful chemicals coming into contact with your skin or being released into the air.
- Cost-effective: Sanding is generally more cost-effective than paint stripping. Sandpaper can be reused multiple times, making it a durable and economical choice. Instead of purchasing chemical strippers repeatedly, investing in sandpaper and sanding tools can save you money in the long run.
Cons Of Sanding
- Dust and Mess: Sanding generates a lot of dust, even if you use a vacuum attachment. This dust can escape into the air and the surrounding area, creating a messy environment. Cleaning up dust can be cumbersome, and it may also pose a risk to eyes and lungs.
- Easy to Over-Sand: When using power sanders, such as belt sanders, it’s easy to over-sand if you’re not careful. Over-sanding can result in scuffs and dips on the surface, affecting the overall finish of the material.
- Paint Clogging: Power sanders can make paint sticky and gooey, leading to sandpaper clogging. This requires frequent sandpaper changes or additional time cleaning it. Paint clogging can slow down the sanding process and be frustrating to deal with.
- Difficulty Reaching Tight Spaces: Sanding, even with small hand sanders like mouse sanders, can be challenging when reaching tight or confined spaces. This becomes particularly problematic if you’re stripping paint from these areas, as it can be difficult to remove paint completely.
- Noise and Space Requirements: Sanding can be noisy, especially when using power sanders. It often requires a dedicated workshop or a well-ventilated area, as noise and dust can be disruptive.
Sand down Method
There are many different ways to sand, depending on the project at hand. In the following instructions, you will find the best way to sand paint off wood, but remember to adapt them to your specific project needs.
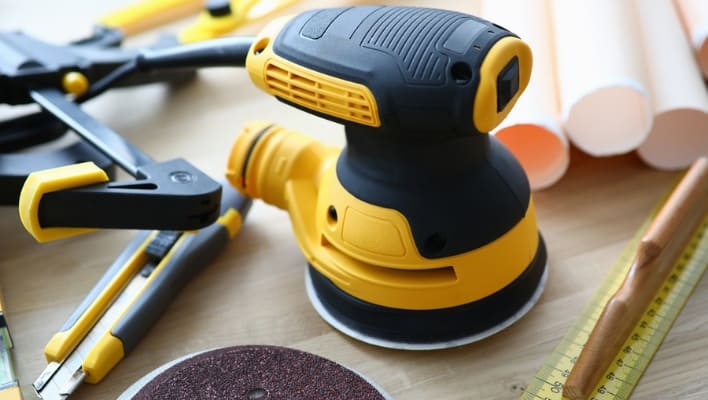
Supplies Needed:
- Sandpaper grit (80-120 and 150 or 220)
- Sanding block or small handheld belt sander
- Tack cloth
- Safety glasses
- Face mask
How to sand paint off wood?
- Safety First: Wear protective gear, such as eye and respiratory protection, when using power sanders. You should find a workspace with proper ventilation.
- Prepare the Wood Surface: Before starting, clean the woodwork with soap and water to remove dirt and buildup. This ensures that your sandpaper doesn’t become unnecessarily clogged.
- Select the Right Sander: Selecting the right sander depends on the job. You may be able to add texture to an existing surface by hand sanding it manually. However, if you’re planning to remove an entire surface, consider using a power tool like a belt sander. Choosing the right option will save you frustration in the long run.
- Choose the Correct Grit: It is usually best to start with a low grit and progress to higher grits. If significant refinishing is required, using a rougher grit (around 80) can be helpful. If you use rougher grits, be careful not to oversand. With this coarse grit, apply gentle pressure to avoid damaging the wood. Replace the sandpaper as necessary after removing the old paint with the sandpaper.
- Remove sand dust: After sanding the entire surface, switch to 120 grit sandpaper. Using this medium-grit paper, remove any remaining paint and smooth out any scratches. Finally, use 150 or 220-grit sandpaper to smooth out the surface. Once you’ve completed sanding, remove any residual dust by wiping the wood with a tack cloth.
Useful Resource: Here’s everything you need to know about Sanding Furniture, including tools and sandpaper grits

Pros of stripping
- Applying a paint stripper saves considerable time and effort when compared to a sander. You can simply apply the stripper, wait, and scrape off the paint without extensive labor.
- Strippers are particularly useful in tight corners, as they loosen the finish before scraping it off.
- If you plan to refinish a project with stain or polyurethane, stripping allows you to reach bare wood without damaging its natural grain. Unlike sanding, which can be time-consuming and prone to wood damage, stripping offers a safer approach.
- While both stripping and sanding can create a mess, using a stripper is generally easier to manage and clean up than the dusty aftermath of sanding, especially for larger projects.
- While hand sanding allows for more precise sanding in smaller areas, there are certain tight corners where hand sanding may not be as effective. Strippers can easily access and work their way into these tight corners.
- By effectively applying a paint stripper, you can save significant time and physical exertion compared to using a sander.
Cons Of Paint Stripping
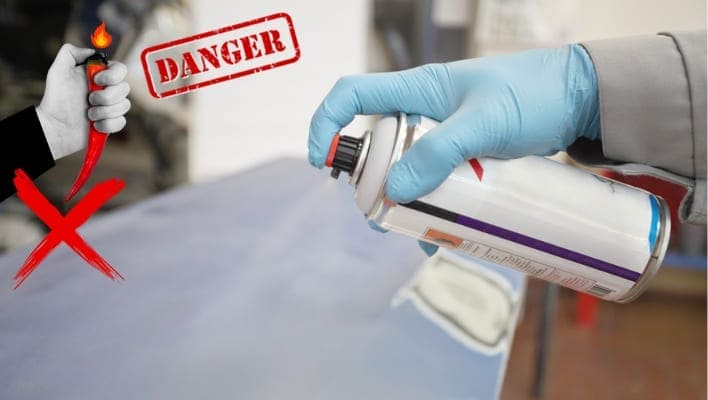
- Depending on the type of paint stripper used, it may emit unpleasant fumes and have caustic properties that harm the skin. While there are non-toxic alternatives available, they often lack the effectiveness of more toxic options.
- Unlike sandpaper, paint stripping can leave behind a sticky and messy residue that can be difficult to clean up, adding extra hassle to the process.
- While paint stripping can help remove paint, it may not eliminate the need for further scraping and sanding.
- A paint stripper is a consumable product, meaning that once it is used up, additional purchases are necessary for future projects. When compared to sandpaper, which is reusable, it may be a more affordable option over time.
- When dealing with old pieces of furniture or surfaces with multiple layers of paint, it may be necessary to apply multiple coats of paint stripper to completely remove all the layers, adding to the time and effort required.
How to strip paint from wood
Here are the easiest ways to strip furniture from wood which are as follows:
- Ensure Safety: Prioritize safety by using a safer and less toxic paint stripper. Wear thick rubber gloves and safety glasses to protect your hands and eyes. Make sure the area is well-ventilated.
- Gather Supplies: Gather the necessary supplies, including a drop cloth, a paint stripper, steel wool, rags, a plastic or metal scraper, a metal bowl, a paintbrush, medium and fine grit sandpaper, and an electric hand sander.
- Preparing the area: Prioritize moving the furniture to a well-ventilated space and protecting the floor by laying down a drop cloth. Enhance airflow by opening windows or utilizing fans.
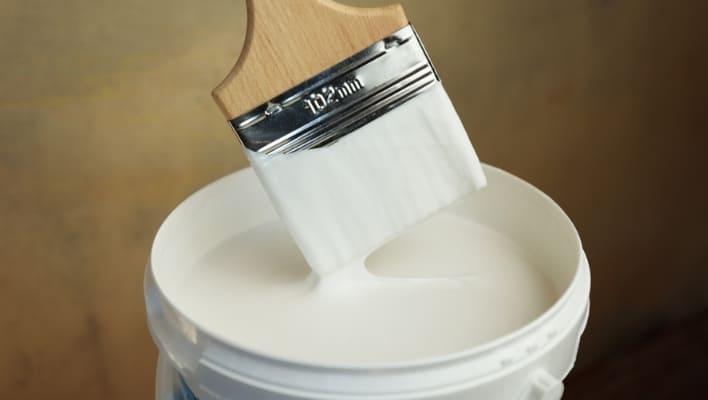
- Applying a paint stripper: Ensure your safety by wearing protective gloves and a face mask. Take a metal or aluminum bowl and fill it with paint strippers.Dip the paintbrush into the stripper and apply it generously to the wood surface, working in small sections at a time.
- Allow Soaking Time: Let the paint stripper soak on the wood surface for the recommended time, usually 15 to 20 minutes. Check the label instructions for specific timing and monitor the stripper to ensure it doesn’t dry out. Apply more stripper if needed to keep the surface moist.
- Scrape the Paint: Using a plastic or metal scraper, gently scrape off the loosened paint, starting at the edge of the wood and moving across in a straight line.Removing the debris: Clear away any loose debris and repeat the process in various sections until all the paint or stain stripper has been eliminated.
- Surface wiping: Use a steel wool pad and dip it into the paint stripper. Gently wipe the wooden surface along the grain, effectively removing any remaining residue and preparing the wood for subsequent steps. Afterwards, use a damp rag to clean the surface, eliminating any excess stripper. Allow the wood to dry for 24 hours.
- Sand the Wood: Once the wood is dry, use medium-grit sandpaper or an electric hand sander to sand the surface. Remove all varnish, stain, and remaining paint. Pay attention to any scratches caused by sanding and use fine-grit sandpaper to smooth them out. After that, wipe the surface with a damp rag to eliminate dust particles.
- Apply a Fresh Finish: With the wood surface clean and smooth, you can now apply fresh stain or protective finish to the furniture. Follow the instructions for the chosen finish product for proper application techniques and drying times.
Is it better to sand or strip furniture?
Deciding whether to sand or strip your wood furniture depends on various factors, including the condition of the piece, the type of finish, and your personal preferences. Here are some considerations to help you make the right choice:
- Surface Condition: If the furniture has only a thin layer of finish or minor imperfections, sanding might be sufficient to achieve the desired result. However, for furniture with multiple layers of paint or varnish, stripping is likely the better option.
- Time and Complexity: Sanding is a more time-consuming process, particularly if you have intricate details or hard-to-reach areas. Stripping can be faster and more efficient for large or complex pieces.
- Health and Safety: Consider the potential health hazards associated with chemical strippers and sanding dust. Choose a method after taking safety precautions.
- Environmental Impact: Remember the environmental impact of the materials and methods you choose. Some chemical strippers contain toxic substances, so it’s important to choose environmentally friendly and biodegradable options if possible.
In some cases, sanding and stripping may be necessary. For instance, you might start with stripping to remove the bulk of the finish and then sand the surface to achieve a smooth finish.
FAQS On Stripping vs Sanding Furniture
how long after stripping can i sand?
After completing the stripping process, it is important to allow the stripped piece to dry completely. For softer woods or items that required extended soaking to remove all the finish, it is recommended to let them dry for at least 24 to 48 hours. This drying time ensures that the wood is free from excess moisture and ready for further refinishing steps. Once the piece has dried thoroughly, you can proceed with sanding.
Is it safe to sand paint?
Safely sanding paint requires adherence to proper precautions. Wear a dust mask and protective eyewear, work in a well-ventilated area, and consult safety guidelines and product data sheets. However, sanding lead paint can release hazardous lead dust, so proper protection is crucial to avoid lead poisoning.
What happens when you sand paint?
When you sand paint, the abrasive action of the sandpaper removes the top layer of paint, creating a smooth and even surface. This process helps to remove imperfections, roughness, or flaking paint, preparing the surface for repainting or refinishing.
Is it better to sand or strip wood floor?
Choosing between sanding and stripping a wood floor depends on factors like the existing finish and the circumstances. When dealing with a painted finish on a wooden floor, stripping generally proves to be more efficient. However, if you aim to remove a basic polyurethane finish and it’s the colder months, sanding may be a more suitable approach. Consider the specific situation before deciding.
Why do you strip paint instead of sanding?
Stripping paint instead of sanding is preferred in situations where the paint layers are thick or when the surface has intricate details, carvings, or moldings that are difficult to sand. Stripping allows for a more thorough removal of the paint, ensuring a clean and smooth surface for refinishing.
Is it better to sand or strip veneer?
Sanding veneer can be challenging because the thin layer of wood can easily be sanded through. Stripping is a better option for removing old finishes from veneer furniture as it reduces the risk of damaging the delicate surface. Once stripped, light sanding can be done to prepare for refinishing.
Do you have to strip wood furniture before sanding?
Stripping wood furniture is generally recommended before sanding, as it is often more efficient and effective. Unless the existing finish is already flaking off, sanding itself can be hassle. By using a paint-and-varnish remover, the process of stripping becomes easier. However, it is important to note that different types of wood and finishes may require specific stripping techniques. Always consult appropriate resources or seek professional advice for the best approach.
Conclusion:
In conclusion, Sanding vs. Stripping wood furniture, the choice depends on factors like surface condition, time constraints, and personal preferences. Sanding offers flexibility and wood grain preservation, while stripping offers efficiency, thorough removal of multiple finish layer. Make sure you consider your specific needs before making a decision that will lead to the success of your project.

Martina Hitchcock
Martina Hitchcock is a versatile author with expertise in different fields. As a paint sprayer expert, she has in-depth knowledge of paint spraying techniques, tools, and equipment. Martina is also an experienced home remodeler who has worked on various projects, including kitchen and bathroom renovations, flooring installations, and room additions. Her knowledge of home improvement and remodeling is extensive, and she enjoys sharing her insights and tips with readers. You can follow her on Facebook.